Owning a home can come with a lot of maintenance and projects. Over time, areas of the home can become degraded and need a fresh look. Countertops might become outdated, your roof might need an update, and your flooring might require some freshening up. Over time, the grout in your tile can become cracked, dingy, dirty, and even missing pieces. Regardless of whether the grout is sealed or not, it can become old and need an update. If this is what your tile grout looks like, then it is likely time for a regrout. Wondering how to regrout tile without removing old grout? Gather your tools and supplies and follow the instructions provided below.
Let’s take a look below at the steps to regrout your tile without removing the old grout.
What Type of Grout to Choose?
Choosing the correct grout is a basic step in the process of regrouting over existing grout. The most common grout types are cementitious (which is unsanded or sanded) or epoxy (which is also sanded or unsanded).
- Epoxy – Waterproof and more stain resistant. Great for shower tiles, bathroom tiles, backsplashes, or anywhere that has a high moisture content. Also, it adheres and seals better than cementitious. Has a faster and stronger bond time.
- Cementitious – General grout is most often used in areas with less moisture. Does not adhere as well as epoxy. Great for use in all workspaces that aren’t exposed to water.

What Supplies Or Equipment Do I Need?
With any project, supplies and/or equipment are needed to accomplish the task. Let’s take a look below at some recommended items to complete this project.
How Do I Complete This Project?
Believe it or not, the steps involved with regrouting the tile over existing grout are fairly simple. Let’s take a look below at the recommended steps to accomplish this project.
- Choose the Material – Selecting the correct grout for the area that you are regrouting is key. As mentioned above, if you are working in the bathroom space or areas with high moisture exposure, you will want to use epoxy grout. Also, remember to match up the colors so that it all flows together.
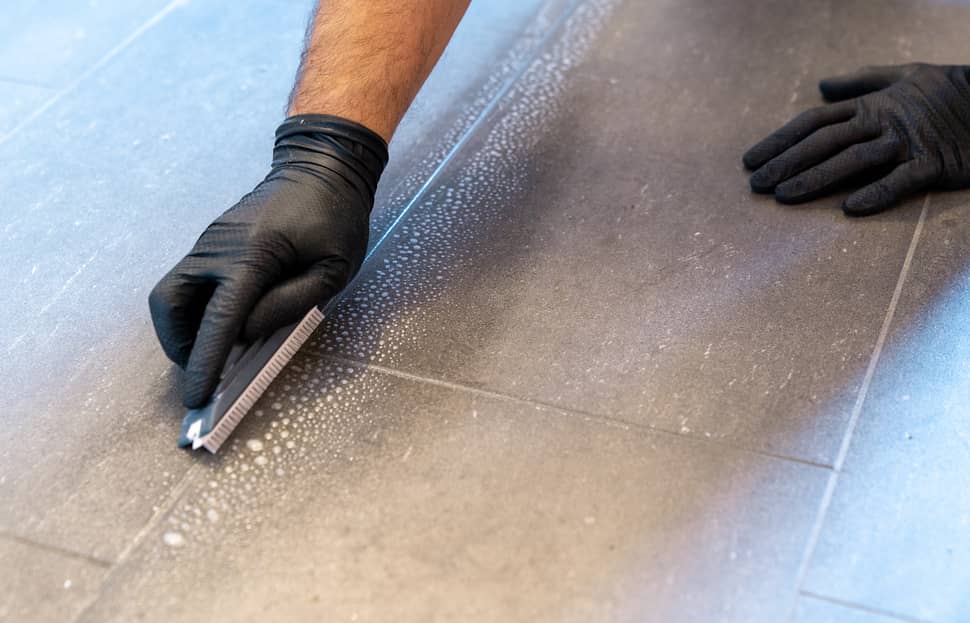
- Create Space – Clear the work area and chip away at the top layer of the old and dirty grout. This will create a layer that is easily bonded to. Also, doing this creates channels for the new grout to sink into. Use your grout removal oscillating tool and take out the top 2 millimeters of existing grout.
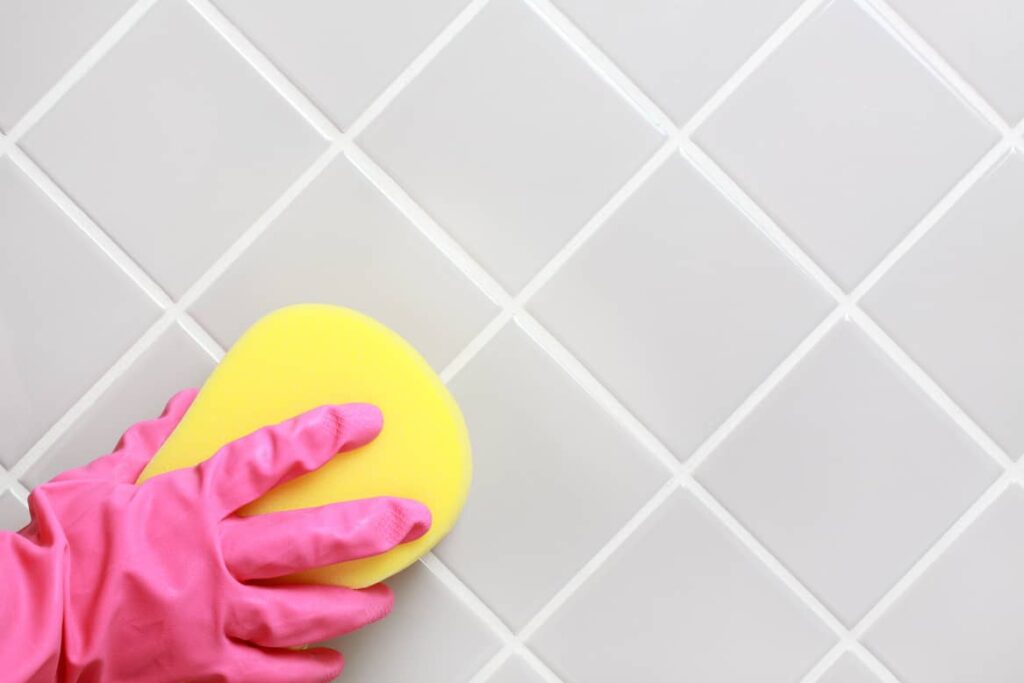
- Clean the Area – After you have removed the old grout layer, use your vacuum to suck up all of the debris that has been created. Also, wipe down the grout line so no grout dust or debris will prevent a solid bond with the new grout. After using a clean damp sponge to wipe down the lines, allow the area to be clean and dry before applying new grout.
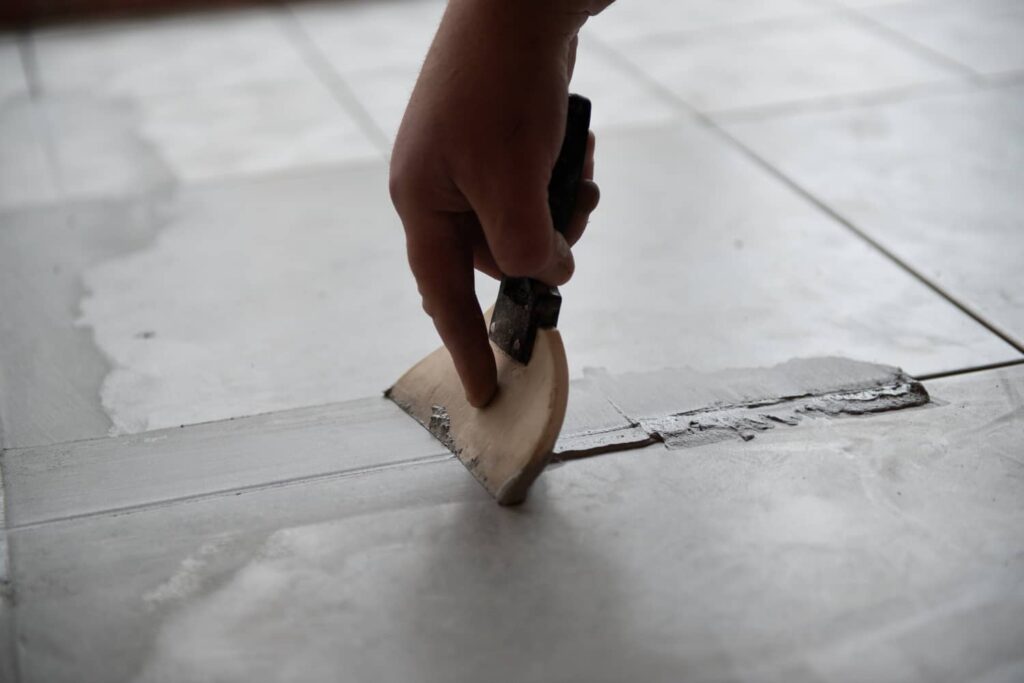
- Apply the New Grout – Now that the area has been cleaned, you can begin applying the new grout to the grout lines. Make sure to mix your grout (if purchased a grout powder) as the manufacturer recommends. Apply the new grout into the channels with your grout float. Once that has been completed, take your wet sponge and remove the excess grout from the tile. Cleaning can take the longest part of the process. Allow the grout to dry for up to one week.
- Caulk and Sealant – Take a dry clean cloth and apply grout sealer to the new grout lines. Let the sealant sink into the joints before you wipe down the surface. After you have completed sealing all tile lines, you can caulk the corners and edges of your work.
Other Recommended Maintenance
Now that you know how to regrout the tile lines you can look to how to fill the gaps between your baseboard and floor. Once the tile has been rerouted you are going to need to recaulk the areas of the baseboard and the tile floor. So, be sure to read up on the steps to accomplish that project.
Next, while you are conducting a project like regrouting your tile, it is possible that areas of your walls or flooring have become harbors of mold. If you smell mold while you are working on this project, you should stop what you are doing. Inhaling mold spores while you are working is not good for your health. Additionally, calling on a local mold remediation team might be necessary before you finish regrouting your tile floor.
Lastly, if you are working on your tile for the first time and grouting the tile for the first time, there are some rules that you need to adhere to. The main rule is to allow the tile mortar to dry before grouting any of the tiles. Although a regrout will not require this step, it is necessary to know if you are first starting out.

When Do I Call A Professional?
Grouting your tile could be a rather tricky project. Most homeowners don’t have the tools or the physical ability to kneel for extended periods to apply new tile grout. If this is the case, you will want to call on a professional contractor that has experience with grouting tile. Determine if the grout that is in place would benefit from an updated look. Then reach out to your local professional to determine the next steps. Call on your local home inspection team to assist with determining which grout should be replaced or can simply be recovered. Also, they can recommend a reputable professional contractor who has grouting experience.
Conclusion
When you are looking to regrout or install the new grout in between your tiles, you will want to consider the aesthetics when the job is completed. In some cases, the job might be bigger than the idea. If this is the case, you will want to call on a local professional. Use your local home inspection team to determine the condition of your tiles and the grout. Regrouting can be a daunting task. Once you have determined what the next step should be, you can reach out to your local professional contractor. Be sure to use your local home inspection team first, to determine the best course of action. Reach out to Edifice Inspections in Peachtree Corners, GA for a full home inspection.


2 Comments
Comments are closed.