Air conditioner coils play a vital role in keeping your home cool and comfortable. They’re responsible for transferring heat, allowing the AC to cool your indoor air efficiently. However, over time, AC coils can become dirty, which leads to reduced efficiency, increased energy bills, and even potential breakdowns. Fortunately, you don’t have to be an HVAC expert to maintain them. In this post, I’ll walk you through how to clean AC coils at home, so you can keep your system running smoothly and help it last longer.
Why AC Coil Cleaning Matters
Your air conditioning system has two types of coils: the evaporator coil (indoors) and the condenser coil (outdoors). These coils work together to transfer heat, cooling your home effectively.
When dirt, dust, and debris cover these coils, your AC has to work much harder to achieve the same level of cooling. Dirty coils mean reduced airflow, higher energy bills, and greater strain on the unit, which can lead to costly repairs down the line. By learning how to clean AC coils, you’re not just maintaining your unit; you’re also making a wise financial choice.
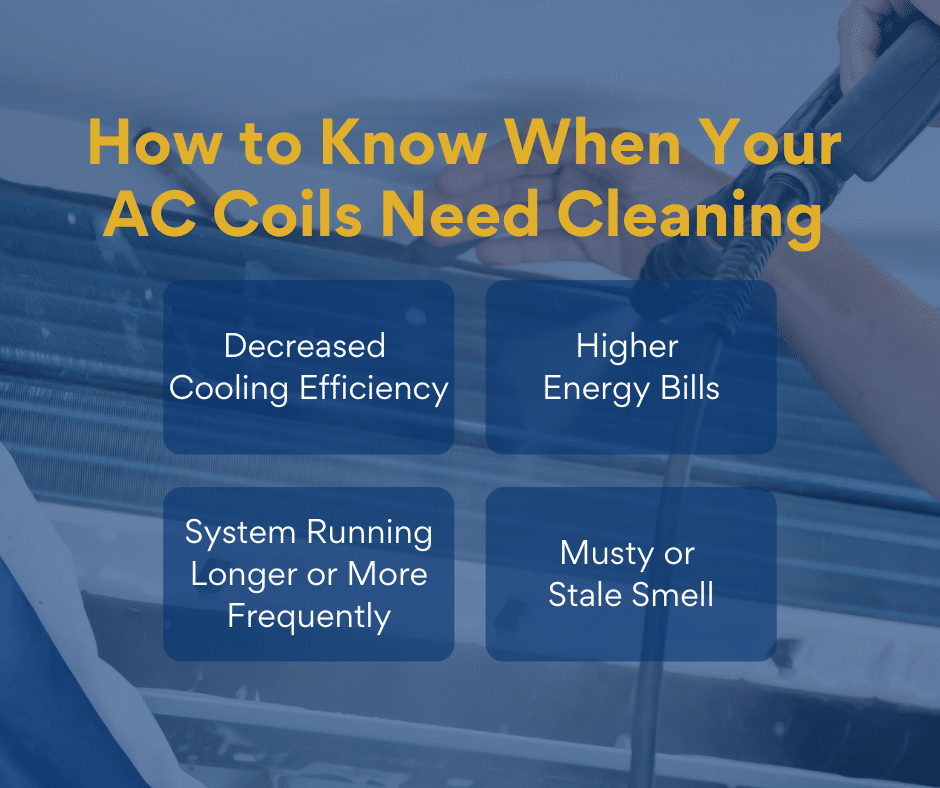
How to Know When Your AC Coils Need Cleaning

Not sure if it’s time to clean your AC coils? Here are a few signs to watch out for:
- Decreased Cooling Efficiency: If you notice that your AC isn’t cooling as effectively as it used to, it could be due to dirty coils.
- Higher Energy Bills: A sudden rise in your energy bill might mean your AC is working harder than usual due to clogged coils.
- System Running Longer or More Frequently: If your AC seems to be running more often or for longer cycles, dirty coils could be the culprit.
- Musty or Stale Smell: Over time, dust and dirt can produce unpleasant odors, which you may notice in the air when your AC runs.
For many homeowners, a once-a-year coil cleaning is usually enough, but if you live in a dusty environment or an area with heavy pollen, you may need to clean them more often.
Essential Tools and Supplies You’ll Need
Before diving into how to clean AC coils, make sure you have the following tools and supplies:
- Screwdriver: Some panels or grills may need to be unscrewed for access.
- Soft Brush or Coil Cleaning Brush: For gently removing dirt and debris without damaging the coils.
- Vacuum Cleaner with Brush Attachment: Helpful for loose dust and dirt, especially in hard-to-reach places.
- Commercial Coil Cleaner: Available at most hardware stores. This cleaner is specifically designed to remove buildup from AC coils safely.
- Mild Detergent and Water: If you prefer a DIY option, you can mix a mild detergent with water.
- Gloves and Safety Glasses: Essential for protecting yourself while cleaning.
These supplies ensure that you can safely and thoroughly clean the AC coils without risking damage to your unit.
Step-by-Step Guide: How to Clean AC Coils
Now that you’re ready, let’s dive into how to clean AC coils step by step. This process will help you improve efficiency, reduce energy costs, and ensure your home stays comfortably cool.

Step 1: Turn Off the Power
Safety is always the first priority when working with electrical appliances. Turn off the power to the AC unit by switching off the thermostat and flipping the breaker switch dedicated to the AC system. Ensuring the power is off reduces the risk of electric shock and helps you work safely around the unit.
Step 2: Access the Coils
The evaporator coil, which cools the indoor air, is typically located inside your home’s air handler. The condenser coil, responsible for releasing heat, is found in the outdoor unit. To access the evaporator coil, you may need to unscrew or unfasten a panel. The condenser coil is often easier to reach by simply removing the outdoor unit’s grille or protective cover.
Use your screwdriver for this step, being careful to keep track of any screws or fasteners you remove.
Step 3: Remove Loose Debris
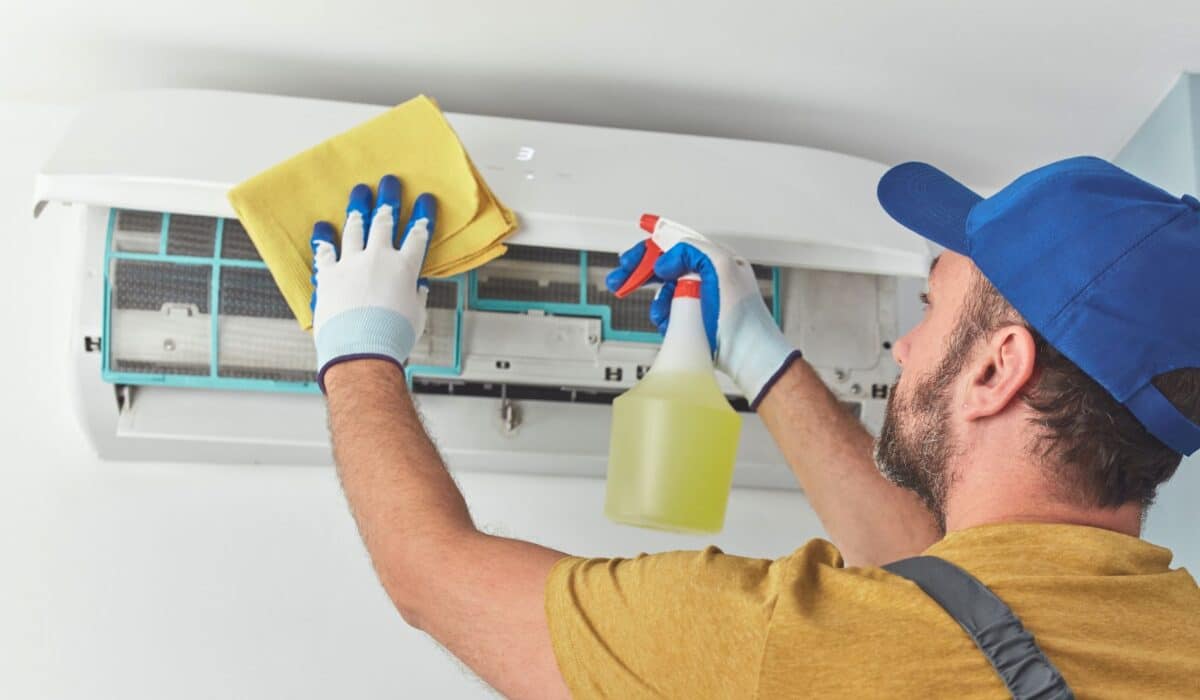
Dirt and debris can easily build up on the coils, especially in outdoor units exposed to the elements. Use a soft brush or vacuum cleaner with a brush attachment to gently sweep away loose dirt, dust, and leaves.
Be gentle; applying too much pressure can bend or damage the coil fins, which are delicate and essential for proper heat transfer. This step makes a big difference in how well the coil cleaner will work by reducing the amount of buildup to remove.
Step 4: Apply Coil Cleaner
You have a couple of options for how to clean AC coils at this stage:
- Using a Commercial Coil Cleaner: Spray the cleaner evenly over the coils, following the instructions on the product label. Typically, you’ll need to let it sit for 5–10 minutes to break down dirt and grime.
- DIY Cleaner with Mild Detergent: If you prefer a homemade solution, mix a small amount of mild detergent with water in a spray bottle. Spray the mixture evenly over the coils and let it sit for a few minutes. This is a good option if you’re in a pinch, though commercial cleaners tend to be more effective.
Allowing the cleaner to soak in is essential, as it loosens the dirt, making it easier to rinse or wipe away.
Step 5: Rinse the Coils
After the cleaner has soaked, it’s time to rinse. For condenser coils on outdoor units, you can use a garden hose with a gentle spray setting. Be cautious with the pressure; high pressure can damage the coils. If you’re cleaning indoor evaporator coils, it’s usually best to avoid rinsing directly. Instead, use a damp cloth to carefully wipe away the cleaner, ensuring that no liquid drips onto any electrical components.
Step 6: Inspect and Reassemble
Once you’ve cleaned the coils, inspect them for any leftover dirt or grime. Make sure everything is dry, especially if you’re working on the indoor evaporator coil. Reassemble any panels or grills you removed earlier, securing them with screws or fasteners as needed.
This final step ensures the coils are protected from future buildup and helps keep your unit in top shape.
Additional Tips for Keeping AC Coils Clean
Regular coil cleaning is a great way to keep your AC running efficiently, but there are a few additional maintenance tips to consider:
- Regularly Dust the Indoor Area: Dust buildup around your air handler can contribute to dirty evaporator coils. Keep the surrounding area clean to reduce dust entering the system.
- Replace Air Filters Frequently: Dirty air filters allow more dust and dirt to reach the coils. Change filters every 1-3 months, depending on your AC usage.
- Keep the Outdoor Unit Clear: Plants, bushes, and debris near the outdoor condenser unit can restrict airflow. Maintain at least two feet of clear space around it to allow for proper ventilation and to reduce the risk of debris entering the unit.
Following these tips will make cleaning the coils easier in the future and keep your system in better condition overall.
Conclusion
Learning how to clean AC coils is a straightforward but highly beneficial maintenance task. Clean coils improve energy efficiency, reduce wear on your unit, and improve indoor air quality. Regular AC maintenance is essential, but sometimes a trained eye is needed to spot underlying problems that could impact your system and your home’s comfort.
Ready for a comprehensive look at your home’s systems? Book a professional home inspection today! Our expert team can provide an in-depth assessment of not only your AC system but all major components of your home, helping you catch small issues before they turn into costly repairs. Contact us to schedule your inspection and keep your home in top shape!

